Dual Protocol walkthrough: release route and demo answers
Pair Eva and Miles, open the police safe and Marcus locker, charge the battery, investigate Castellari Manor and Ravenwood, solve the observatory chain, then connect the final signal. Demo answers are listed separately.
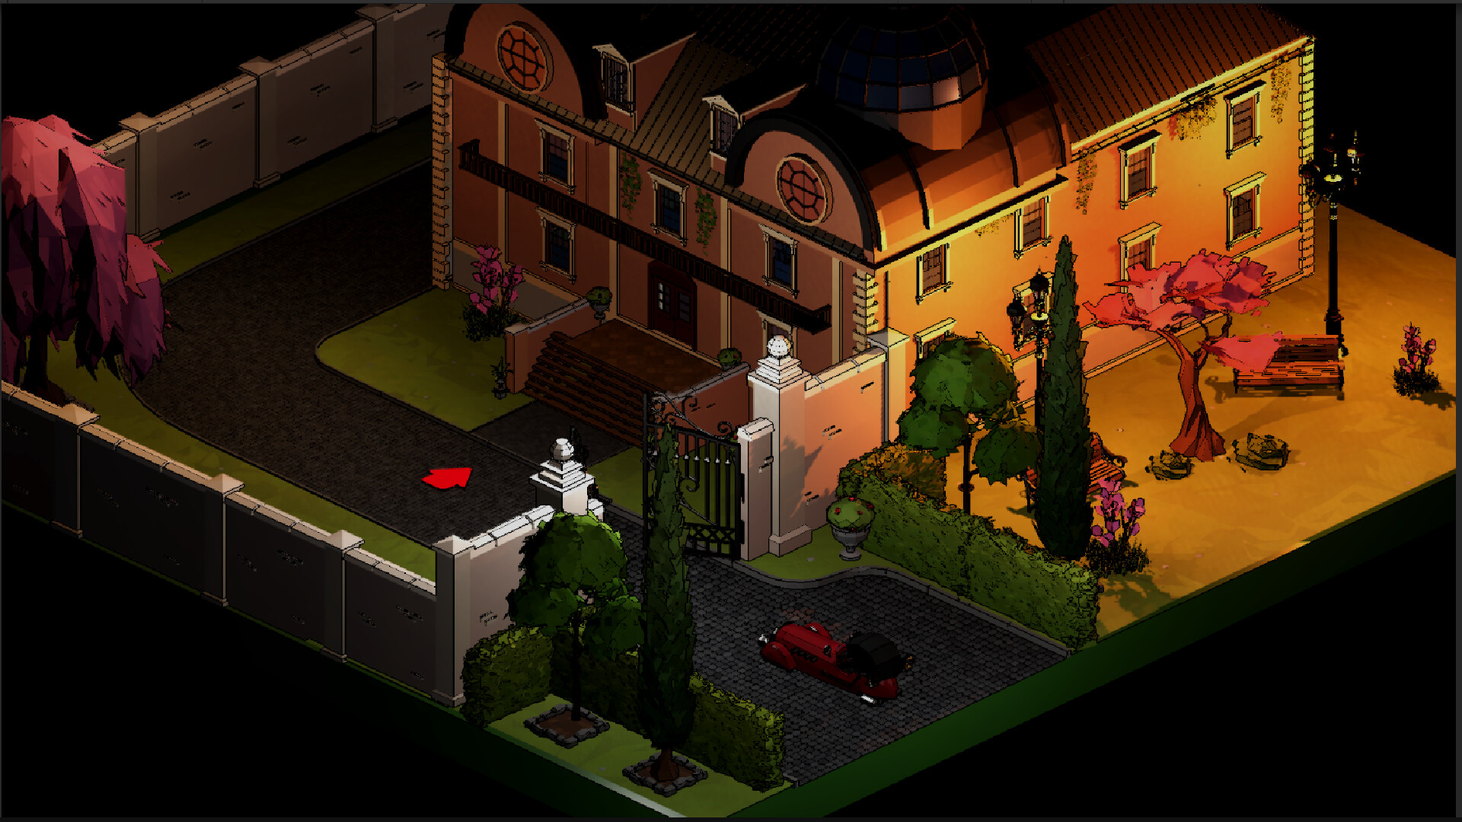
Release route: pair Eva and Miles, open the police safe and Marcus's locker, charge the car battery, investigate Castellari Manor and Ravenwood, solve the observatory chain, then connect the final signal and name the suspect. The demo reference at the end is a separate route: its order and numbers should not be carried into every release puzzle.
Pairs with: Co-op setup · Patches and fixes · Story and characters
1. Pair the two desks
Eva reads her agent ID; Miles enters it at the terminal. The recorded release opening uses 32 B2 C4. Wait for the pairing confirmation, then finish the sealed-box approval on both screens. Do not leave one player waiting at an authorization question while the other searches another room.
2. Police safe, locker and car battery
The safe is a dial, not a three-number keypad. Start with a full clockwise turn to 0, then clockwise 10, counterclockwise 45, clockwise 20. If the mechanism rejects the sequence, reset to zero and repeat in order.
Marcus's locker 106 contains the car key; its combination is 48–56. The key alone does not start the release car.
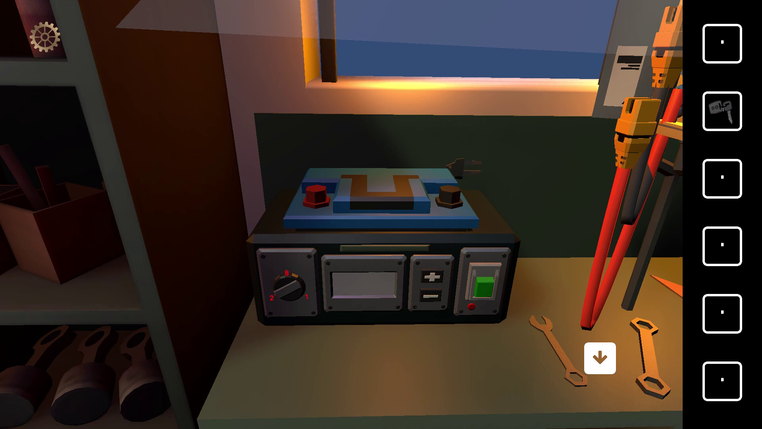
Put the empty battery into the charger. Eva's unit ID lets Miles find the matching service record. In the recorded run, FV340 uses a barcode of wide, narrow, wide, wide, narrow; the returned profile is 14 volts, mode 2. Follow the charger connection prompt, finish charging and reinstall the battery. Use your unit's record if its identifier differs.
3. Drive to the manor and compare evidence
Miles uses the city map while Eva describes junctions and landmarks. Reaching the manor opens Juliet's introduction and the upstairs rooms.
Inspect the crime scene, bedroom and library. Eva describes the fingerprint shapes on the evidence; Miles compares them with the files on his side. Keep that identification as evidence rather than treating a matching print as the entire murder solution.
4. Ravenwood is Miles's next investigation
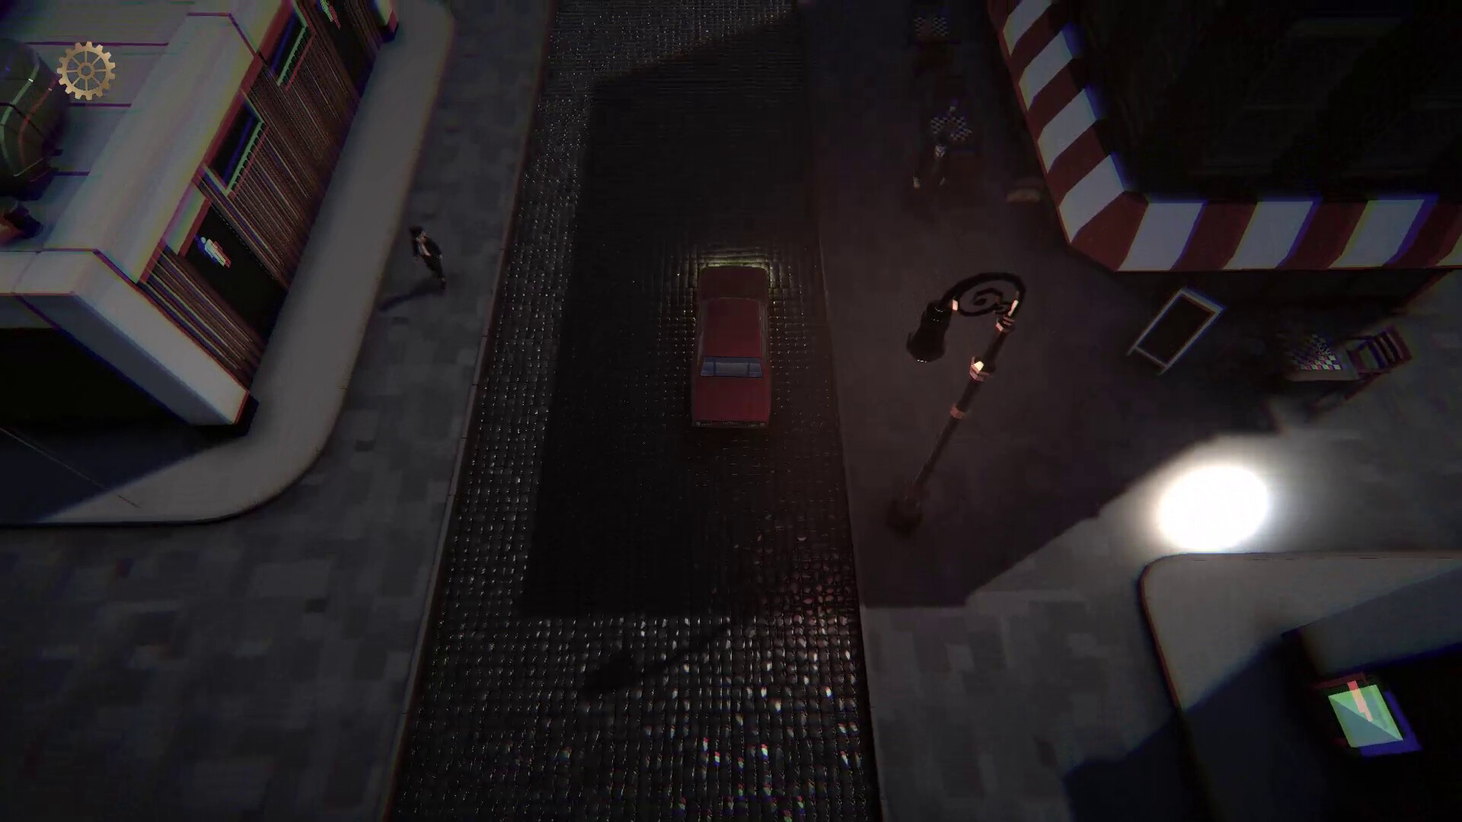
The diary gives the road sequence to the hunting club. Use its landmarks: the bank, the left turn by the cherry trees, the old bus stop and Oak Street, then the fountain and wooden sign.
Miles can investigate outside his original desk. At Ravenwood, speak to the people there and collect the clues the manor player needs. The two roles are different views of one investigation, rather than a rule that Miles never leaves the office.
5. Clocks, resonance and the hidden room
Match the city labels and times between the two screens. Read the date and time for the current terminal prompt; the old demo's August date is not a universal release answer.
For resonance, add the values of the records actually playing and match the material threshold. One release step breaks a glass case with Swan Lake, New World, Serenade and Ode to Joy, leaving Mozart off for 1700. That is the glass-case combination shown in the linked run, not a replacement for every other material's threshold.
Place the recovered nutcracker in the empty position beside the other figures in the library. The hidden-room chain leads toward the observatory.
6. Observatory and the word lock
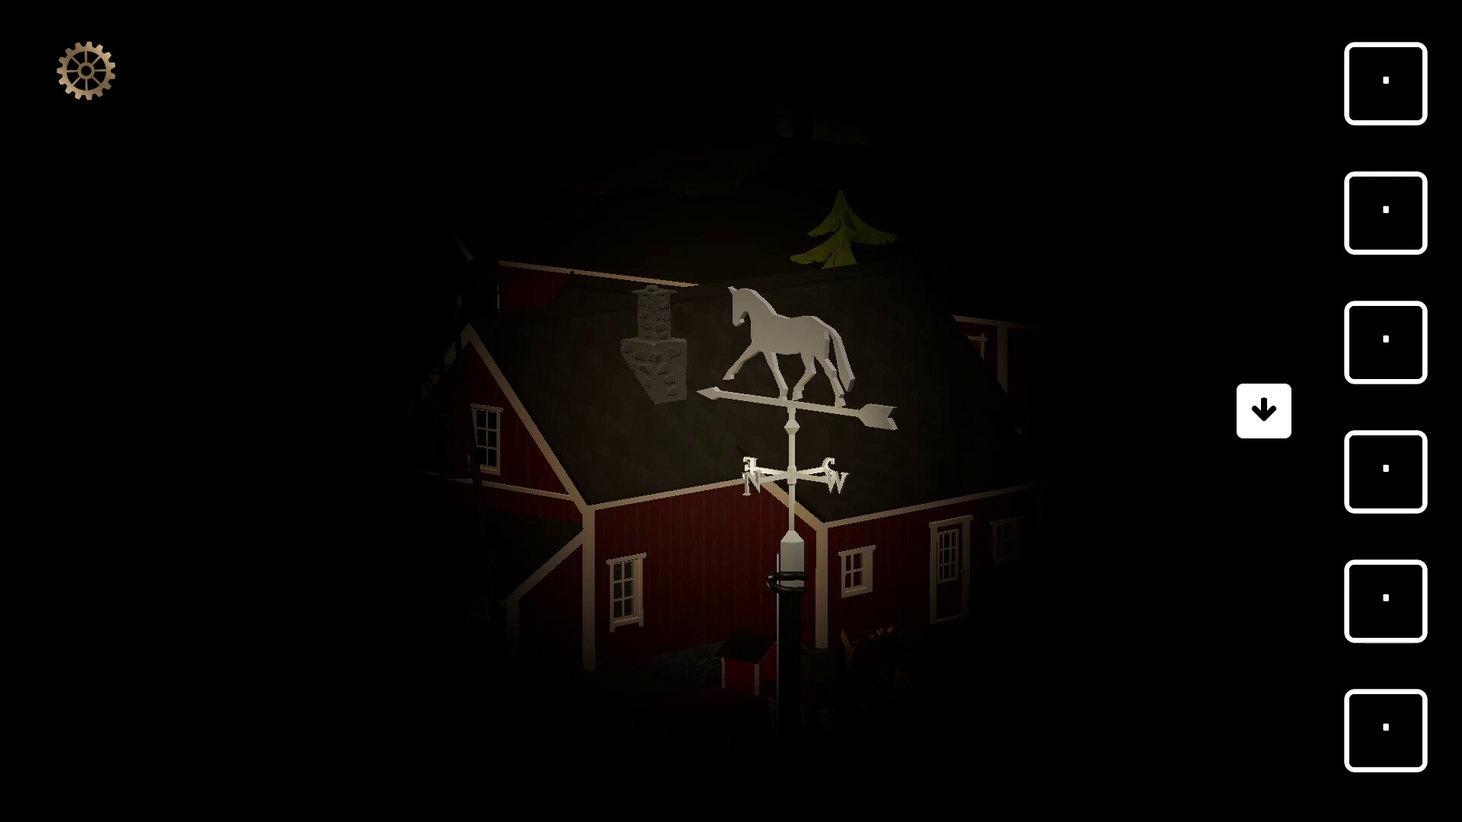
Gather the telescope components and fit them into their slots. Miles supplies the viewing settings; Eva reports the scene and symbols. Keep the observations separate: cemetery details, heraldry and the weather vane answer different inputs.
The calibration terminal asks for the founder information, heraldry and orientation. Describe each visible part of the crest instead of saying only “a shield.” For direction entries, use the terminal's confirmation control for each position; reset the sequence if you enter a wrong direction.
The Morse-code chain yields LUMINO for the word lock. Opening it exposes the board-resolution evidence. Continue talking to Juliet afterward to receive the security-booth key.
7. Security footage, Daniel's home and the ending
Use the booth key on the outside security building. Watch the tapes in order, then investigate Daniel's home, including the discarded medicine packaging and the room opened by its key.
At the final signal panel, describe the LED pattern to your partner. Agree on a count and hold the matching control through the connection sequence; a quick press or an unrelated red button does not finish it.
The recorded release ending selects Juliet Castellari. The reveal explains the planted gun evidence and the disguise using Daniel's clothes. Complete the final confirmation rather than stopping at the suspect selection.
Demo reference: keep these answers in their own version
| Demo puzzle | Answer or method |
|---|---|
| Agent pairing | 32 B2 C4 |
| Marcus's locker | 106, combination 48–56 |
| Porcelain resonance step | Combined 1400 |
| Date terminal | 13 August 1975, 22:15 |
| Safe | Reset at 0, then 10 clockwise, 45 counterclockwise, 20 clockwise |
| Finale | Exchange the pattern and synchronize the final action |
If progress stops
Car key works but the car will not start: complete the battery/service-record loop, not another locker search.
Correct numbers rejected: check the prompt's date order, the dial direction or the material currently being targeted. A correct answer to a different screen still fails.
Cassette section will not advance: the October 4 hotfix fixes a progression bug there. Update before replaying the whole opening.
Telescope refuses a component: compare the component slots and inventory before changing view settings. View settings and assembly are different tasks.
Route videos and update source
- Wretch Plays: full release run: pairing 3:15, safe 6:50, battery 16:51, Ravenwood 38:48, glass case 1:05:30, word lock 1:38:48, finale 1:50:07.
- BBrisita: independent full release run: battery 12:36, Ravenwood 41:48, word lock 1:44:33, final confirmation 1:53:39.
- Official updates — October 4 cassette-progression and interface fixes.
All guides6
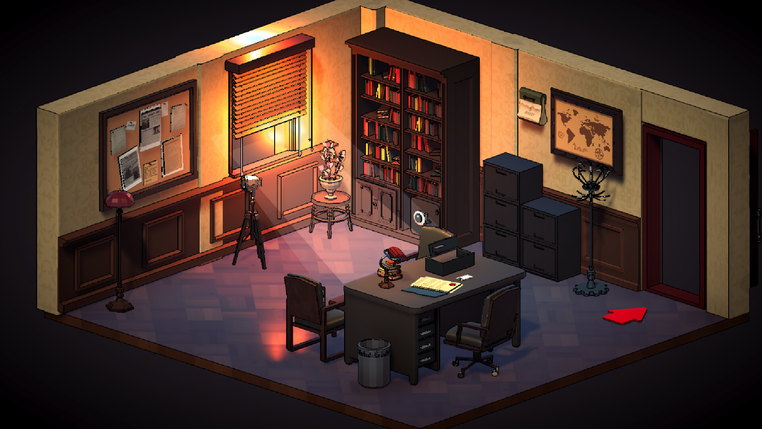
Dual Protocol Beginner Guide: Eva, Miles and Your First Hour
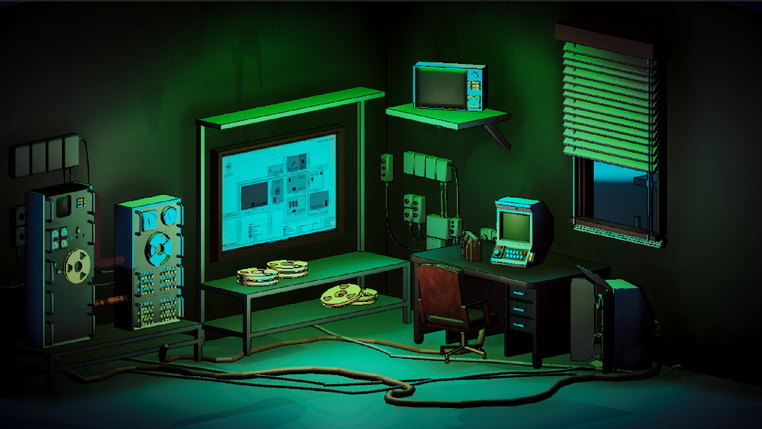
How to Set Up Dual Protocol Co-op With a Friend
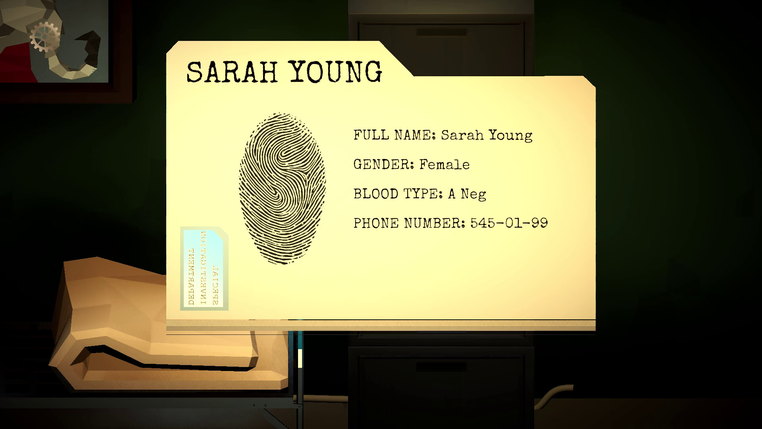
Dual Protocol Story and Characters: The Castellari Case
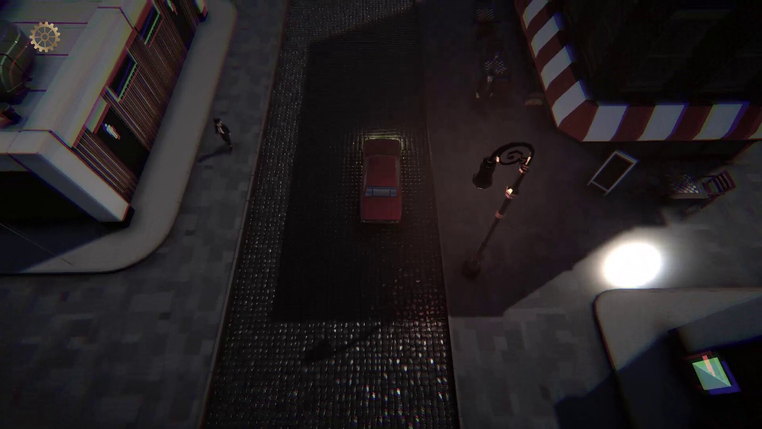
Dual Protocol Release Date, Price and Demo Status
Dual Protocol patch notes and known fixes